DIY Coconut Candle Making: A Step-by-Step Guide

Coconut candles are not only a great way to add a tropical touch to your home decor but also a wonderful DIY project that allows you to create personalized, aromatic candles using the natural goodness of coconuts. If you are a candle enthusiast or simply looking for a unique and eco-friendly gift idea, this step-by-step guide will help you in creating your very own coconut candle.
Materials Needed:
-
Mature Coconuts: As an export company specializing in mature coconuts, we highly recommend choosing fresh, mature coconuts for candle making. They provide a natural and authentic look to your candles.
-
Coconut Wax or Coconut Oil: Coconut wax is derived from the meat of mature coconuts and is an excellent choice for candle making due to its low melting point and clean burn. If coconut wax is not available, you can use pure coconut oil as an alternative.
-
Wicks: Select candle wicks that are suitable for coconut wax or coconut oil. Ensure that the wicks are long enough to reach the bottom of the coconut and stand upright.
-
Fragrance Oils or Essential Oils: Choose your preferred fragrance oils or essential oils to add a delightful aroma to your coconut candles. Popular scents include coconut, vanilla, citrus, lavender, and cinnamon.
-
Decorative Elements: Optional decorative elements such as dried flowers, seashells, or colored wax flakes can be used to enhance the visual appeal of your candles.
-
Double Boiler or Heat-Proof Container: To melt the coconut wax or oil, you will need a double boiler or a heat-proof container that can withstand high temperatures.
-
Thermometer: A thermometer is essential to monitor the temperature of the wax or oil while melting and cooling.
-
Hot Glue Gun or Wick Holder: If your wicks tend to move or shift while pouring the wax, a hot glue gun or a wick holder can help keep them centered and in place.
Step-by-Step Guide:
Step 1: Preparing the Coconut
-
Select mature coconuts that are free from cracks and have a flat base. Use a hand drill or a screwdriver and hammer to pierce the coconut’s three eyes at the top.
-
Drain the coconut water into a separate container and save it for later use in smoothies or other recipes.
-
Place the coconut in a preheated oven at approximately 200°F (93°C) for 15-20 minutes to loosen the flesh. This process also aids in easy removal of the meat.
-
Once the coconut has cooled, use a knife or spoon to carefully separate the flesh from the shell. Cut away any excess husk or fibers to create a smooth surface for the candle.
Step 2: Preparing the Wax
-
If using coconut wax, melt it in a double boiler on low heat. Stir occasionally to ensure even melting. If using coconut oil, it can be melted directly in a heat-proof container over a low flame.
-
Monitor the temperature of the wax or oil using a thermometer. For coconut wax, maintain a temperature between 175-185°F (79-85°C). For coconut oil, keep the temperature around 125-130°F (52-54°C).
-
If desired, add fragrance oils or essential oils to the melted wax or oil. Use approximately 1 ounce of fragrance oil or 20 drops of essential oil per pound of wax. Stir well to distribute the fragrance evenly.
-
Allow the wax or oil to cool slightly before pouring into the coconut shell, ensuring it’s not too hot to handle.
Step 3: Pouring the Wax
-
Place the coconut shell on a flat, heat-resistant surface or a tray lined with aluminum foil to catch any spills.
-
Attach the wick securely to the bottom center of the coconut shell using a hot glue gun or a wick holder.
-
Slowly pour the melted wax or oil into the coconut shell, leaving approximately ½ inch of space from the rim. Take care not to disturb the wick.
-
Allow the wax or oil to cool and solidify completely. This process may take a few hours, depending on the temperature and the size of the candle.
Step 4: Adding Decorative Elements (Optional)
-
Once the wax or oil has solidified, you can add decorative elements to enhance the appearance of your coconut candle.
-
Carefully embed dried flowers, seashells, or colored wax flakes into the surface of the candle. Be creative and arrange the elements as desired.
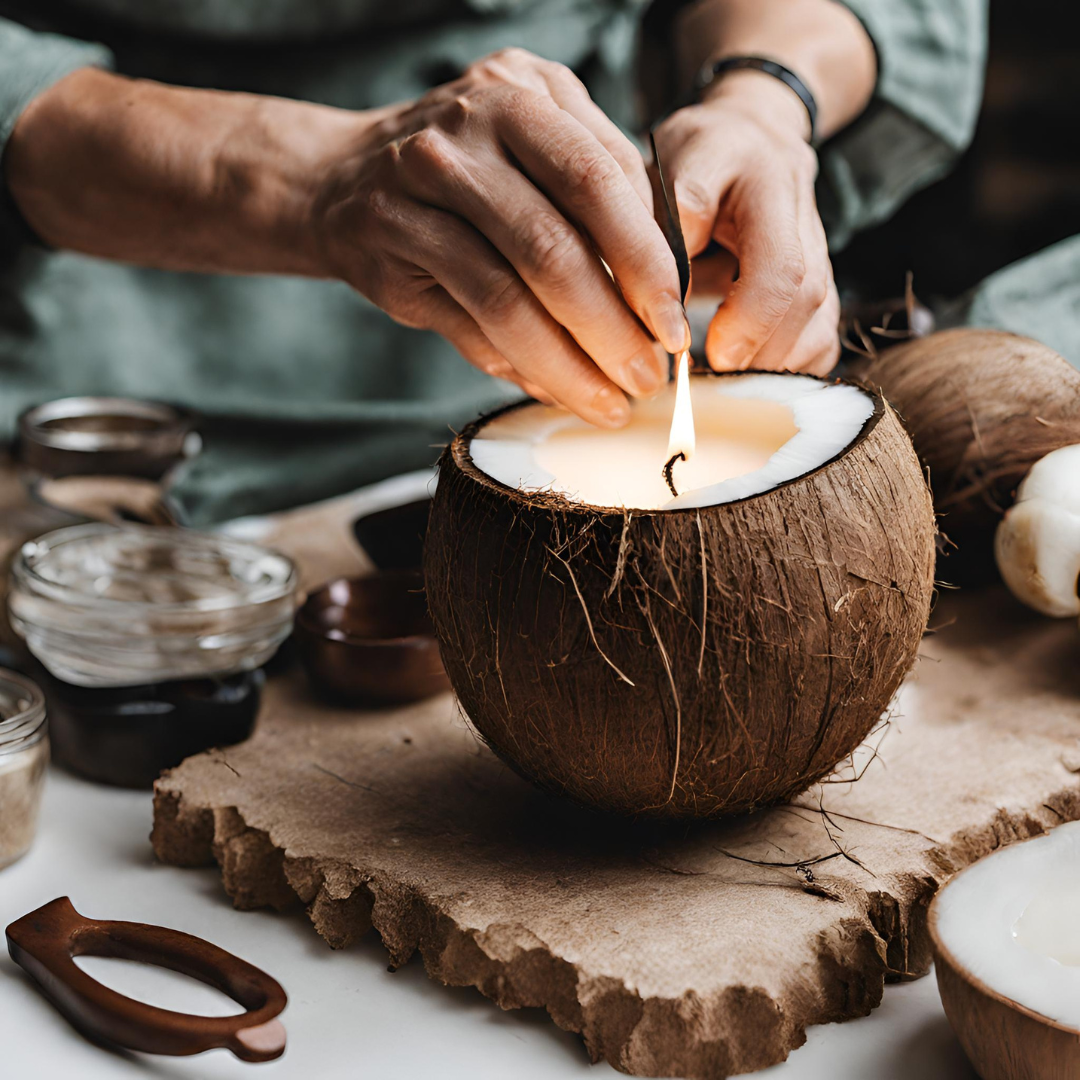
Step 5: Trimming the Wick and Lighting the Candle
-
Trim the wick to approximately ¼ inch before lighting the candle. This ensures a clean and even burn.
-
Place your coconut candle on a heat-resistant surface away from drafts or flammable objects.
-
When ready to enjoy your coconut candle, light the wick and relish the gentle glow and delightful fragrance it emits.
Additional Tips and Precautions:
-
Always exercise caution while working with hot wax or oil to prevent burns.
-
If using essential oils, ensure they are suitable for candle making and are safe for use around humans and pets.
-
Avoid leaving burning candles unattended and keep them out of reach of children and pets.
-
Dispose of the coconut shell properly once the candle has been used or discarded.
We, at Thangamman Exports, take pride in offering high-quality mature coconuts and coconut byproducts for various purposes. Visit our website to explore our range of coconut products and learn more about the benefits of coconut. Happy candle making!
External Links:
– Thangamman Exports – Explore our website for premium mature coconuts and coconut byproducts.
– Coconut Wax – Learn more about the benefits and uses of coconut wax in candle making.